
What is resolution?
An image that looks great on-screen might not look so great in print. If the image that looked sharp on your monitor appears pixelated in print, that’s down to resolution.
This guide will help you to understand the resolution requirements for print, and show you how to prepare your artwork so it looks just as good in your hand as it did on your computer.
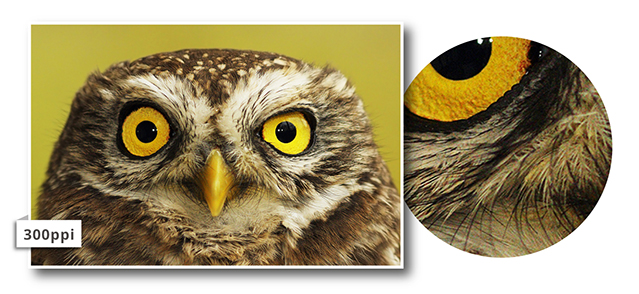
Image Resolution is a description of image quality. A high-resolution image will appear sharp and precise, while a low-resolution image will be blurred or pixelated.
The standard units for measuring resolution are pixels per inch (ppi) on screen and dots per inch (dpi) in print, indicating the number of dots or pixels along an inch-long line. The more image data there is to play with, the finer the picture quality.

What Image Resolution is required?
The industry standard requirement for digital artwork files is a minimum resolution of 300ppi, or pixels per inch. That way, the file will contain enough image data to allow a printer to print at 300dpi, or dots per inch.
That figure comes from the world of publishing, where we’re used to considering an image that’s printed onto something you can hold in your hands and observe at arm’s length. At this resolution, the eye will read the image as a nice, smooth, continuous picture, and not a blocky collage of colours.
How to create high-resolution documents
If you’re using design software to create or edit your artwork, it’s important to set the resolution for your project from the outset. In most programs, when you create a new image, a dialogue box will ask you how large you want your canvas and, crucially, X resolution and Y resolution.
X resolution dictates pixel density horizontally across the image and Y resolution does the same vertically. Lock these fields together or ensure the two values are identical to ensure consistent resolution horizontally and vertically.
There’ll usually be the option to pick what units of pixel density you’d like to use for resolution. For our purposes choose ‘pixels/in’ (this may appear as ‘PPI’ or ‘DPI’). For the vast majority of commercial print work, 300 will be an appropriate value to go for, because a 300ppi digital image will directly translate to 300dpi print resolution.
If you aren’t creating your artwork from scratch, you may want to check the resolution of any source images you wish to use.
How to check Image Resolution
File size can be a fair indicator of the quality of an image, but it’s not conclusive. When preparing digital artwork to send to print, a revealing way to check it on screen is to zoom in on the image at three or four times the size of the final print. Viewing a PDF at 300% or 400%, for example, will give you an impression of how it might appear once printed.
This is because screens tend to display images at 72ppi whereas a print document will tend to be rendered at 300dpi. So by expanding your artwork to three or four times its real-life dimensions, you’ll be able to see if the image might appear pixelated in print. Check this article out for further reading !
When certain parts of a document are low resolution
Unfortunately, when an image that forms part of your artwork is low res, it’s unlikely you’ll be able to fix it. A skilled artworker may be able to sharpen up an image that’s only slightly below the threshold, but if there simply isn’t enough information there to display a sharp image, there’s not a lot that can be done.
In this case, the best idea is to replace low-resolution images with better quality, high-resolution ones. This could mean asking a designer to recreate them from scratch, or sourcing high-resolution stock imagery from one of the many providers online.
If you did require a designer to rebuild your image, our in-house design team is on hand to help. Please contact us for a quote and we’ll be happy to assist with creating artwork that’s perfect print quality.
The last option is to “risk it” and print your images as they are. This might be worth considering for very large items designed to be viewed at a distance, but we don’t recommend this approach as you most likely won’t achieve the clean, crisp appearance you’re after.
When part of a document is vectorised and the rest is low-resolution
This dilemma suggests that the wrong settings have been used in the software used to create your image. As a result, the quality has been reduced when saving as a JPEG or PDF. This can happen if the export settings in Adobe InDesign are incorrectly configured, or if the PDF has been saved from an MS Word document.
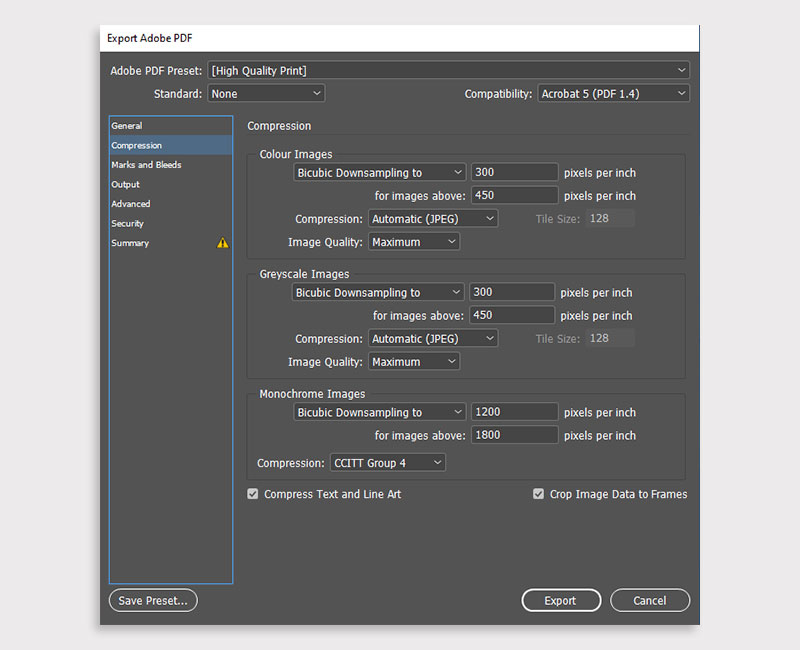
Preparing artwork in MS Word is seldom a good idea and best avoided. However, if you’re exporting from InDesign, make sure the resolution options are set to a minimum of 300ppi and that compression is set at maximum.
For full details on how to provide artwork in various file formats, check out our Supplying Artwork Guide.
Print resolution is all about how many tiny pixels make up an image. It’s measured in dots per square inch. The easiest way to picture this is to imagine that when you increase the image resolution, you’re increasing how many pixels (or dots) live in that square inch of the picture. And the more dots, the more detail!
For example, 300dpi resolution means there are 300 tiny dots in each square inch. The result? Loads of detail – which is what makes your finished image look high quality.

The higher the print resolution, the higher the quality. That’s why when you come to set up artwork for print, you should always start with an image resolution of 300dpi.
Does Print Quality Differ from Screen Quality?
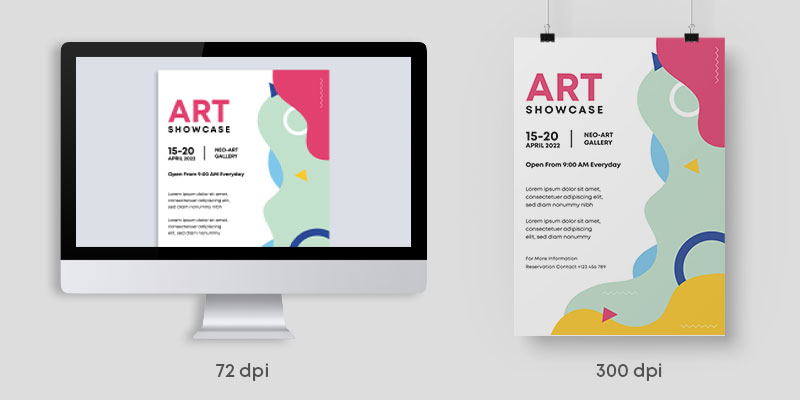
When your artwork is on screen, it’s usually displayed at 72dpi. When your work is printed, however, it will be 300dpi.
If you imagine watching an old black and white film on a top of the range TV, it wouldn’t look as clear as the latest Hollywood blockbuster would because it wasn’t designed for that size screen, just like how your computer resolution isn’t meant for printing.
How to Make an Image 300dpi
If you’re trying to print something that has an image resolution of less than 300dpi (dots per inch), the odds are that the image is going to be pixelated (that’s technical jargon for blurry). If artwork is less than 300dpi, we would always recommend you have your printed products redesigned for the best quality materials.
Here’s how to optimise your print resolution quality using two popular image-editing platforms: Photoshop and InDesign.
Photoshop
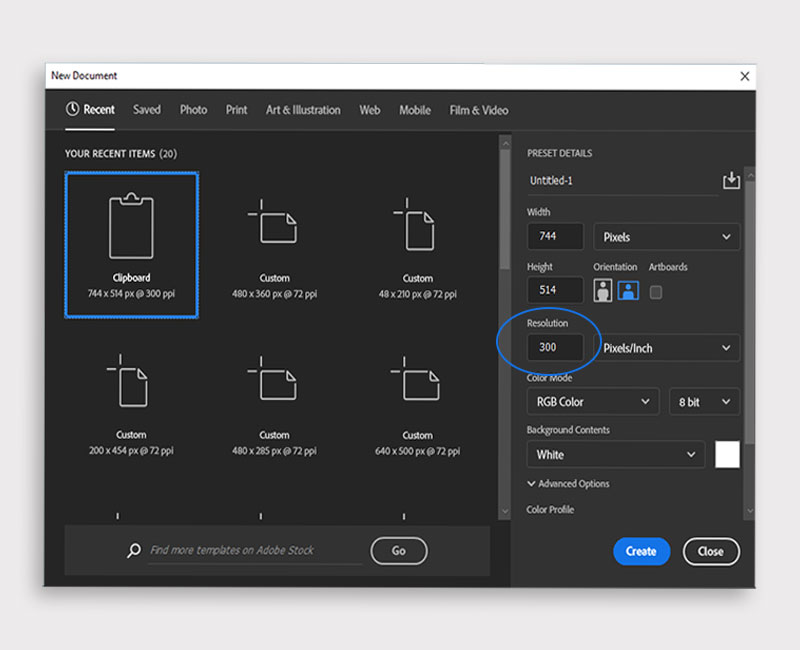
To create a print-ready image with 300dpi in Photoshop, select the following: File > New, then in the resolution box type ‘300’. Note: Ensure that your canvas’ colour mode is set to CMYK.
InDesign
If you’re using InDesign, there are lots of different bits of content that have no resolution – like vector-based logos. You’ll only be able to specify the dpi when you export your file to a different file format, like PDF or JPEG.
This is why, if you’re using images in your design, you should try and source the highest quality images. Check out my top tips below for how to do this.
Top Tips to Avoid Image Resolution Issues
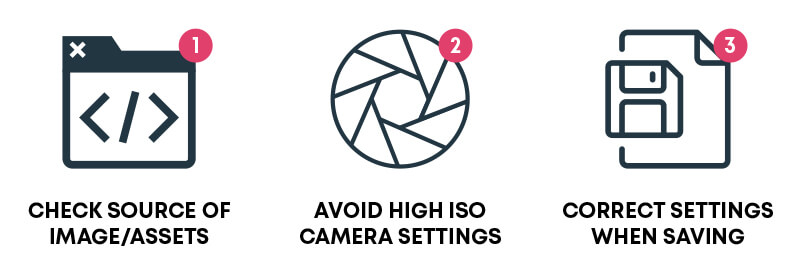
- Check the source of your assets/images. The most common reason behind a low print resolution is search engines being used to search for assets. If you do use search engines for royalty-free assets, I’d recommend using resolution filters to find the highest resolution images. Then once the assets have downloaded, always double check the image file’s properties. Make sure the image resolution matches the 300dpi resolution of your artwork. We would recommend you source high-quality images from stock image sites such as Shutterstock or Pexel.
- Avoid using a high ISO setting on your camera. Photos are a great way to make potential customers aware of your products, locations, and services in action, and adjusting your ISO settings is a great way to combat dark lighting. However, this can sometimes result in your photos appearing a little grainy. When producing professional marketing materials, we would recommend using a photo that’s well-lit and grain free.
- Make sure your settings are correct when saving/exporting your artwork. Most of the time, changing the options given when saving to a pdf or jpg image can solve this problem. The print resolution options should always be set to a minimum of 300dpi, and compression options should be set to maximum.
Frequently Asked Questions About Print Resolution
Q: Can Printex improve the print resolution of my design?
A: No, technically this is not possible, this will have to be done in the design software that you have used to create the design.
Q: What can I do if I can’t improve the resolution of my design?
A: There are two main options. You could either pay to have a new design professionally made or you could print the document “as is”. We would not recommend printing a document below 300dpi for the reasons outlined in this article.